Welcome to Day 1 of The Original Disney~Pixar Blog Hop! Shawn and I are thrilled with the continued excitement and support of our Disney~Pixar blog hops! After taking the summer off from creating and blogging I am very happy to be back with all of you again! You should be arriving from
Shawn's Blog, if you just happened to stumbled across my blog you will definitely want to head back to
Shawn's so you don't miss any of the fun!
My project today is a Pooh Bear diaper cake that I made for my cousin Nicole who is expecting her little boy in just 11 more days! I had so much fun making it and it was a big hit at the baby shower! I loved being on the lookout for Pooh items that I could incorporate into the cake. I found some cute Pooh Bear wash cloths and bibs that I was able to roll up the same size as the diapers and use them as replacements for a diaper in strategically selected places.
I have to thank Shawn at
Crafty Chics Blog for her detailed instructions on putting together a diaper cake! She did a blog tutorial in July which she posted in sections over a few days. If you are interested in viewing her tutorial, be sure to start with
Part One ~ Diaper Cake Getting Started. I will throw one additional little tip in to go along with Shawn's instructions. I was at home and ready to get started and I didn't have any ribbon or large enough rubberbands that would work to secure the diapers together in the larger layers. Since the rubberbands were not large enough to go around the entire bundle I just started grouping 5-6 diapers at a time around the core base that I already had placed a rubberband around by adding a new rubberband and securing it to the base by stretching the rubberband around at least one of the diapers in the exisiting core. I continued this same pattern of piecing together another 5 or 6 at a time and securing with a new rubberband. I was using the small Goody rubberbands out of the hair care aisle. I decided to use those on the diapers because I didn't have to wrap them more than once. I could just roll the diaper and slide the rubberband over it! Does that make sense to everyone the way I wrote it? I hope so...I should have taken a picture of that step to add. Once I got the enter layer complete THEN I added the decorative ribbon around the outside, but it wasn't for structure...just as a finishing touch.
I did a mixture of sized diapers for my cake. The top 3 levels are size 2 diapers and the bottom layer is size 3. My cousin was registered for Luvs brand diapers and when I opened the bags I was disappointed because they weren't just white on the outside (are any of the diapers just plain white anymore other than cloth ones? lol). Not only were they not white....they had PURPLE on them, but once I rolled one up I took a look at it and thought to myself...hmmm...the pattern kind of looks like a honeycomb which was perfect for a Pooh Bear diaper cake! So it all ended up working out great!
I found a red plastic plater at Party City (16" in diameter) which was the perfect base for the cake. The Pooh bear ribbon, red satin ribbon and the red & yellow tulle were all purchased from Joanns.
Now for my blog candy! Today I am giving away a $15 Disney Gift Card!
To be eligible for a chance to win my blog candy you must become a follower if you aren't already and leave ONE comment on this post.
You will have until Tuesday morning September 27, 2011 at 9 AM EST to enter for my blog candy. Winner will be announced that same day. I will use Random org to draw the winner and they will have one week to contact me and claim their prize.
Be sure to come back tomorrow for Day 2 and a whole new set of bloggers and creations! I will also be offering up a Disney Classics Cricut Cartridge for blog candy tomorrow so you won't want to miss a chance to win that!
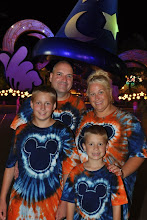
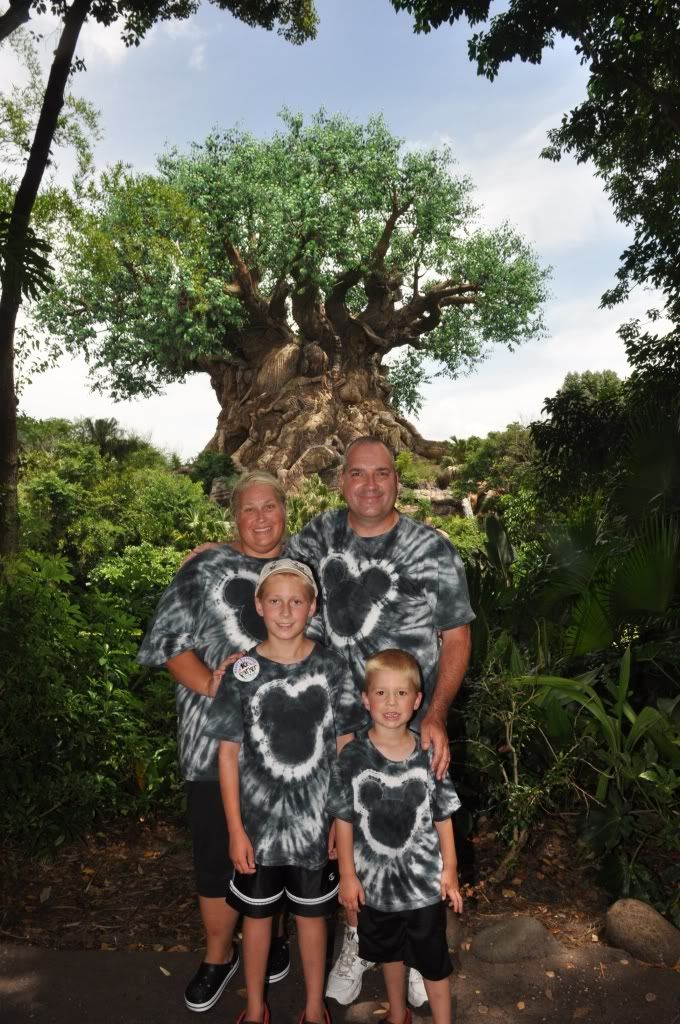
We are also trying something new this go around and having a Disney~Pixar link up party on Monday! We will have 3 categories: Layouts, Cards and Everything Else! I know that a lot of you have made tie dye
Mickey head t-shirts from my tutorial here on my blog, I would LOVE if you shared them during the link-up party! My blog will be hosting the Card Category, but I will have links to the other 2 blogs as well. I will be offering up a $25 Disney Gift Card for the winner of my Card Category Link-Up Party so be sure to come back and share a Disney~Pixar creation with me!!!
Now I send you off to the next stop of our hop
Tami's Craft Connection. Can't wait to see what she has in store for us!
In case you are interested in checking out our first two Disney~Pixar Blog Hops, here are the links to my posts.
1st Disney~Pixar Blog Hop
Tie Dyed Mickey Head T-shirts
2nd Disney~Pixar Blog Hop Day 1
2nd Disney~Pixar Blog Hop Day 2


