Check this out!
http://prima.typepad.com/prima/
Saturday, February 27, 2010
Wednesday, February 24, 2010
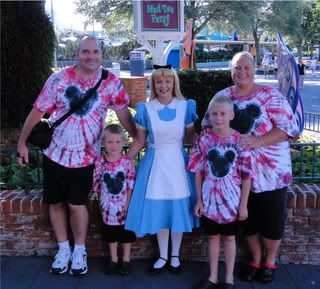
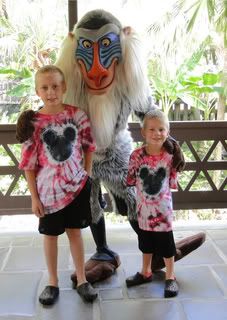
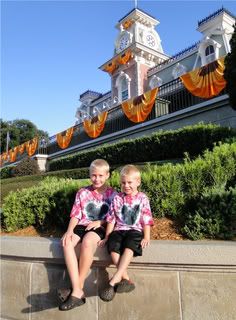
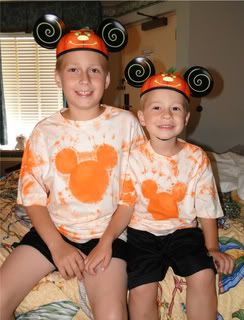
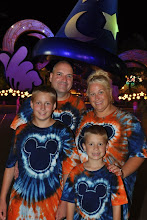
Our Mickey Head Tie-Dyed T-Shirts for WDW
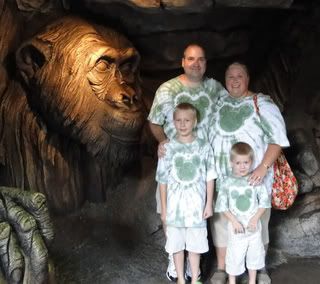
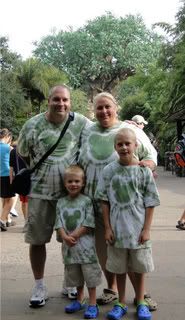
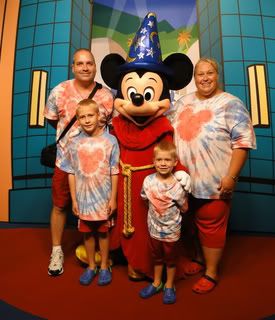
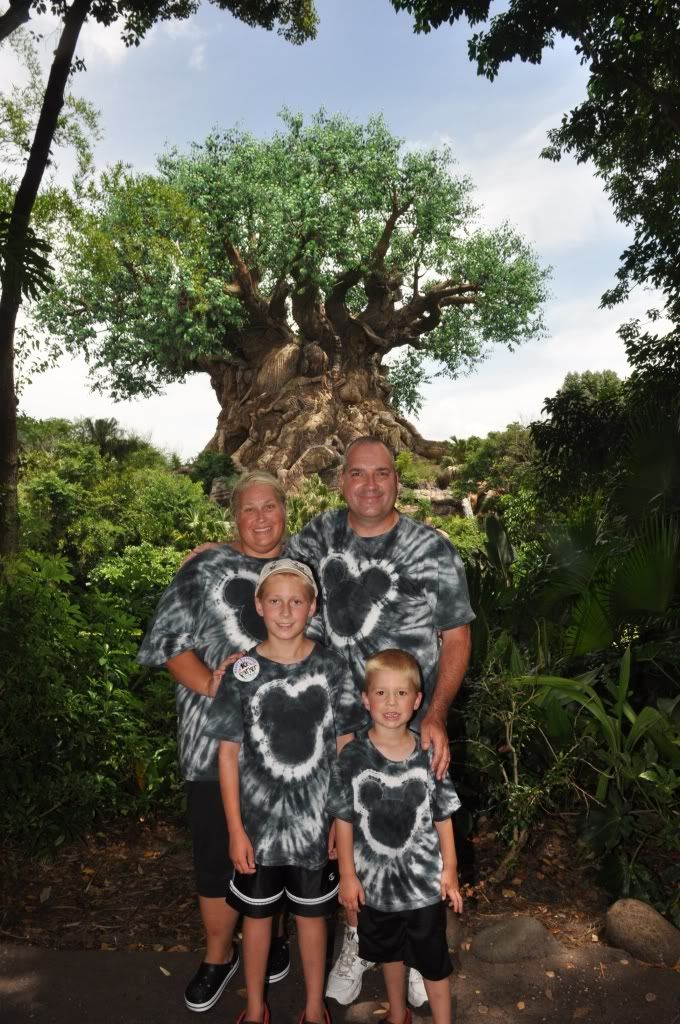
It feels so good to FINALLY be getting around to posting some of my creations that I've been wanting to share. These are the Mickey head tshirts I made for our trip this past August/September. My original plan was to only make one set...the orange ones to wear to the Halloween party at the Magic Kingdom. After I finished them, my oldest son wanted me to make another set of red and black ones! Well once we had red and black ones....we "needed" a set for Animal Kingdom! Then a set of red, white and blue ones that we could wear to DHS and Epcot! We got TONS of comments on these shirts while we were there from cast members as well as other guests. I swear I could have made a bundle if I would have made extra to take with me! .....if only there wasn't that pesky little Disney trademark! ;-)
I used my Cricut and Mickey Font cartridge to cut Mickey heads and then traced them onto my tshirts with a pencil. After the heads were traced I used wax covered dental floss to stitch around the Mickey head. Once I had stitched around the entire head I pulled the dental floss as tight as I could to pucker up the Mickey head and then tied it off inside the tshirt. I then used a rubberband (a THICK one....on the adult shirts I used a couple) around the base of the Mickey head to keep the dye from running onto the head itself. Then I just laid the shirt out flat on the table with the puckered up Mickey head facing up...grabbing ahold of the Mickey head I twisted the shirt into a cinnamon bun shape and then used 4 rubberbands to hold it together criss-crossing them in two "X"s. I used plastic condiment bottles that I found at the dollar store to put the dye into. The bottles made it easier to control what colors I wanted going were on the shirt.
I used my Cricut and Mickey Font cartridge to cut Mickey heads and then traced them onto my tshirts with a pencil. After the heads were traced I used wax covered dental floss to stitch around the Mickey head. Once I had stitched around the entire head I pulled the dental floss as tight as I could to pucker up the Mickey head and then tied it off inside the tshirt. I then used a rubberband (a THICK one....on the adult shirts I used a couple) around the base of the Mickey head to keep the dye from running onto the head itself. Then I just laid the shirt out flat on the table with the puckered up Mickey head facing up...grabbing ahold of the Mickey head I twisted the shirt into a cinnamon bun shape and then used 4 rubberbands to hold it together criss-crossing them in two "X"s. I used plastic condiment bottles that I found at the dollar store to put the dye into. The bottles made it easier to control what colors I wanted going were on the shirt.
Mrs. Silver's Christmas gift
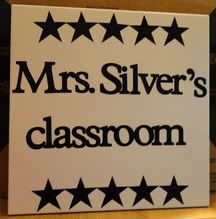
This 12X12 tile was for our oldest son's teacher. Parker is in the 4th grade and Mrs. Silver refers to her students as "Silver's Stars". I love that the teachers loved their gifts so much and knowing that these will be proudly displayed at their classroom doors for the years to come makes me smile!
Tuesday, February 23, 2010
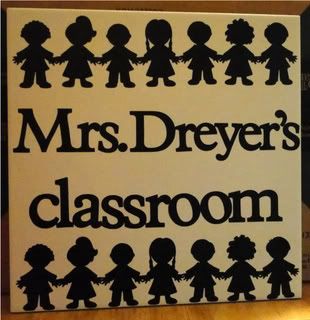
Mrs. Dreyer's Christmas gift
I made this for my son's Kindergarten teacher. We absolutely adore Mrs. Dreyer and cannot imagine what our lives would have been like without her as our boy's teacher! We feel very blessed that we were able to have her not only once for our oldest, Parker, but again this year for our youngest, Tanner! This was to go along with her gift card and is now proudly displayed in the window next to her classroom door!
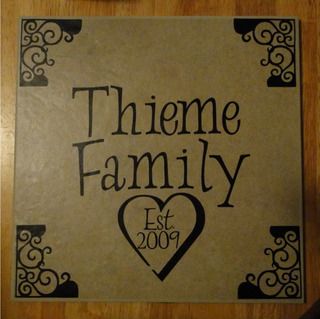
Wedding gift
Here is a project that I did last September....YES SEPTEMBER! I made this 12X12 tile for a daughter of a very dear friend to go along with the card and money we were giving them. It was my first time making a tile and I was pretty happy with how it turned out!
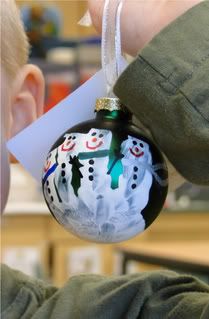
Parent gifts for the Kindergarten class
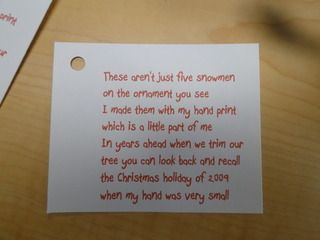
I made these ornaments with my youngest son's Kindergarten class so the kids would have a gift to give their parents for Christmas. I used their little handprints with white paint to make the snowman bodies and then I just used Sharpie paint markers to add the faces, scarves and hats. The kids were so proud of these and the parents all loved them! I did this same type of thing 4 years ago when my oldest was in Kindergarten so I just used the same little poem, tweaking it a bit.
Sunday, February 21, 2010
Goal NOT completed! **EDITED** Step one...CHECK!
Well....I didn't get around to taking pictures of my LO's
this weekend like I wanted to, but we did get a lot
accomplished on the boys science fair projects and
we just got home from a Pistons game where Parker got
to be the pre-game ball boy! It was such a cool experience!! It was a great game and we had a lot of fun and THE PISTONS WON!!!!! Wahooooooo!!!!
These next two weeks are crazy with all of the science
fair goings on that I'm a part of so I don't think there
will be any free time to get my pictures taken....UNLESS
we end up getting hit with the snow and sleet they are
calling for and we get a snow day tomorrow! :-)
Have a fabulous week everyone!
**EDITED**
Just wanted to add that we DID have a snow day and I was able to get pictures taken of all my WDW LO's! Now I just need to get them from the camera....to the computer....edited....and then posted! Stay tuned!
Saturday, February 20, 2010
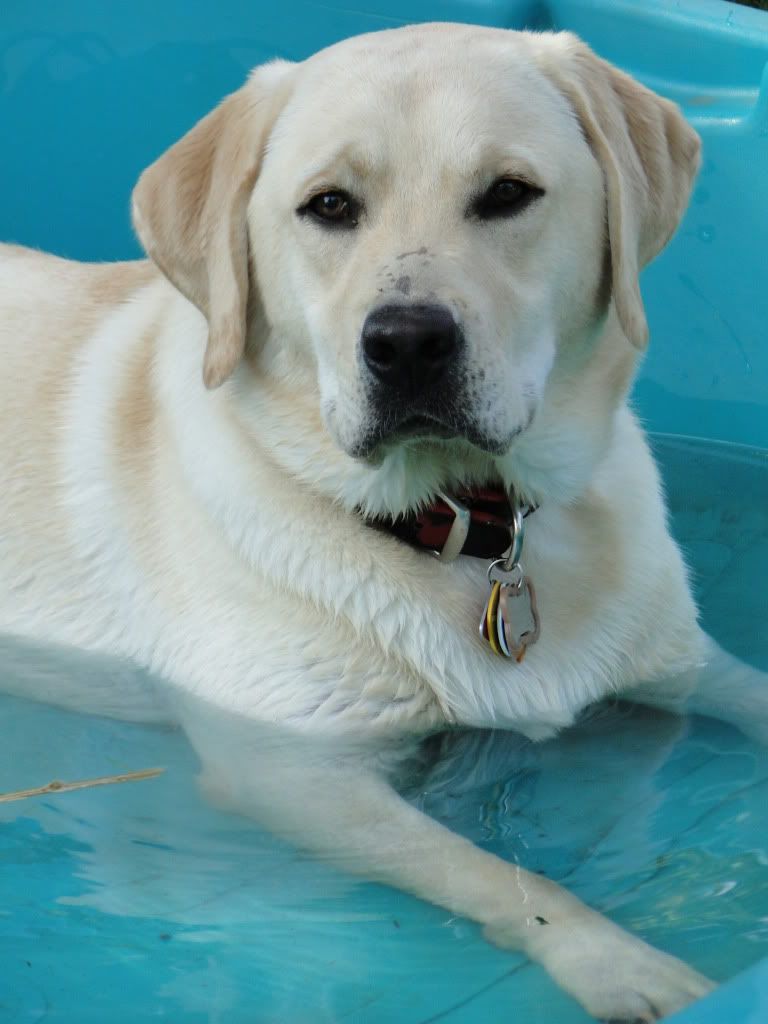
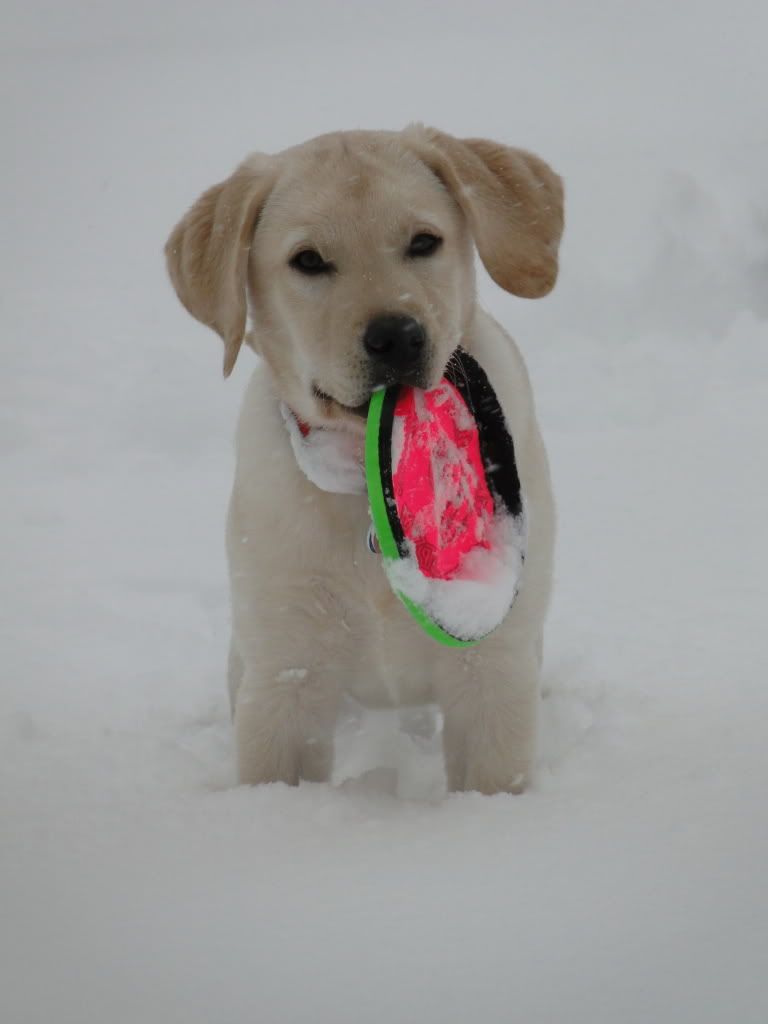
My puppy Max needs your vote!
I entered our yellow lab puppy, Max in a blog contest!
If you get a chance to stop by Angie's blog and feel so
inclined to give my sweet Max a vote I would surely
appreciate it! :-)
www.angieandthomas.blogspot.com
If you get a chance to stop by Angie's blog and feel so
inclined to give my sweet Max a vote I would surely
appreciate it! :-)
www.angieandthomas.blogspot.com
My goal for the weekend....
Although we need to work on our boys science fair projects with them...I am HOPING that I can find some time to take photos of all my Disney LO's that I created at my last 2 scrapping weekends. I may not get the pictures posted this weekend, but my goal is to at least get the photos taken!
I have so many other projects from the past 6 or 7 months that I never posted. I really want to get back into sharing. I get so much inspiration and joy from all of the wonderful blogs I visit.
Happy Saturday to all!
I have so many other projects from the past 6 or 7 months that I never posted. I really want to get back into sharing. I get so much inspiration and joy from all of the wonderful blogs I visit.
Happy Saturday to all!
Thursday, February 18, 2010
Some pink blog candy!!!
Check out this blog for some awesome blog candy!
www.timeforscrappin.blogspot.com
www.timeforscrappin.blogspot.com
Sunday, February 7, 2010
Do you like Ben Franklin????
Be sure to check out Fern's blog for some AWESOME
blog candy!!!
http://texasstampinmamaw.blogspot.com/2010/02/blog-candy.html
blog candy!!!
http://texasstampinmamaw.blogspot.com/2010/02/blog-candy.html
Monday, February 1, 2010
BLOG CANDY!
Head on over to Amanda's blog for a chance to win some AWESOME blog candy!
www.amkscrap.blogspot.com
www.amkscrap.blogspot.com
Subscribe to:
Comments (Atom)


